🏊 Dive into Confidence: Learn to Swim Guarantee Program 🏊
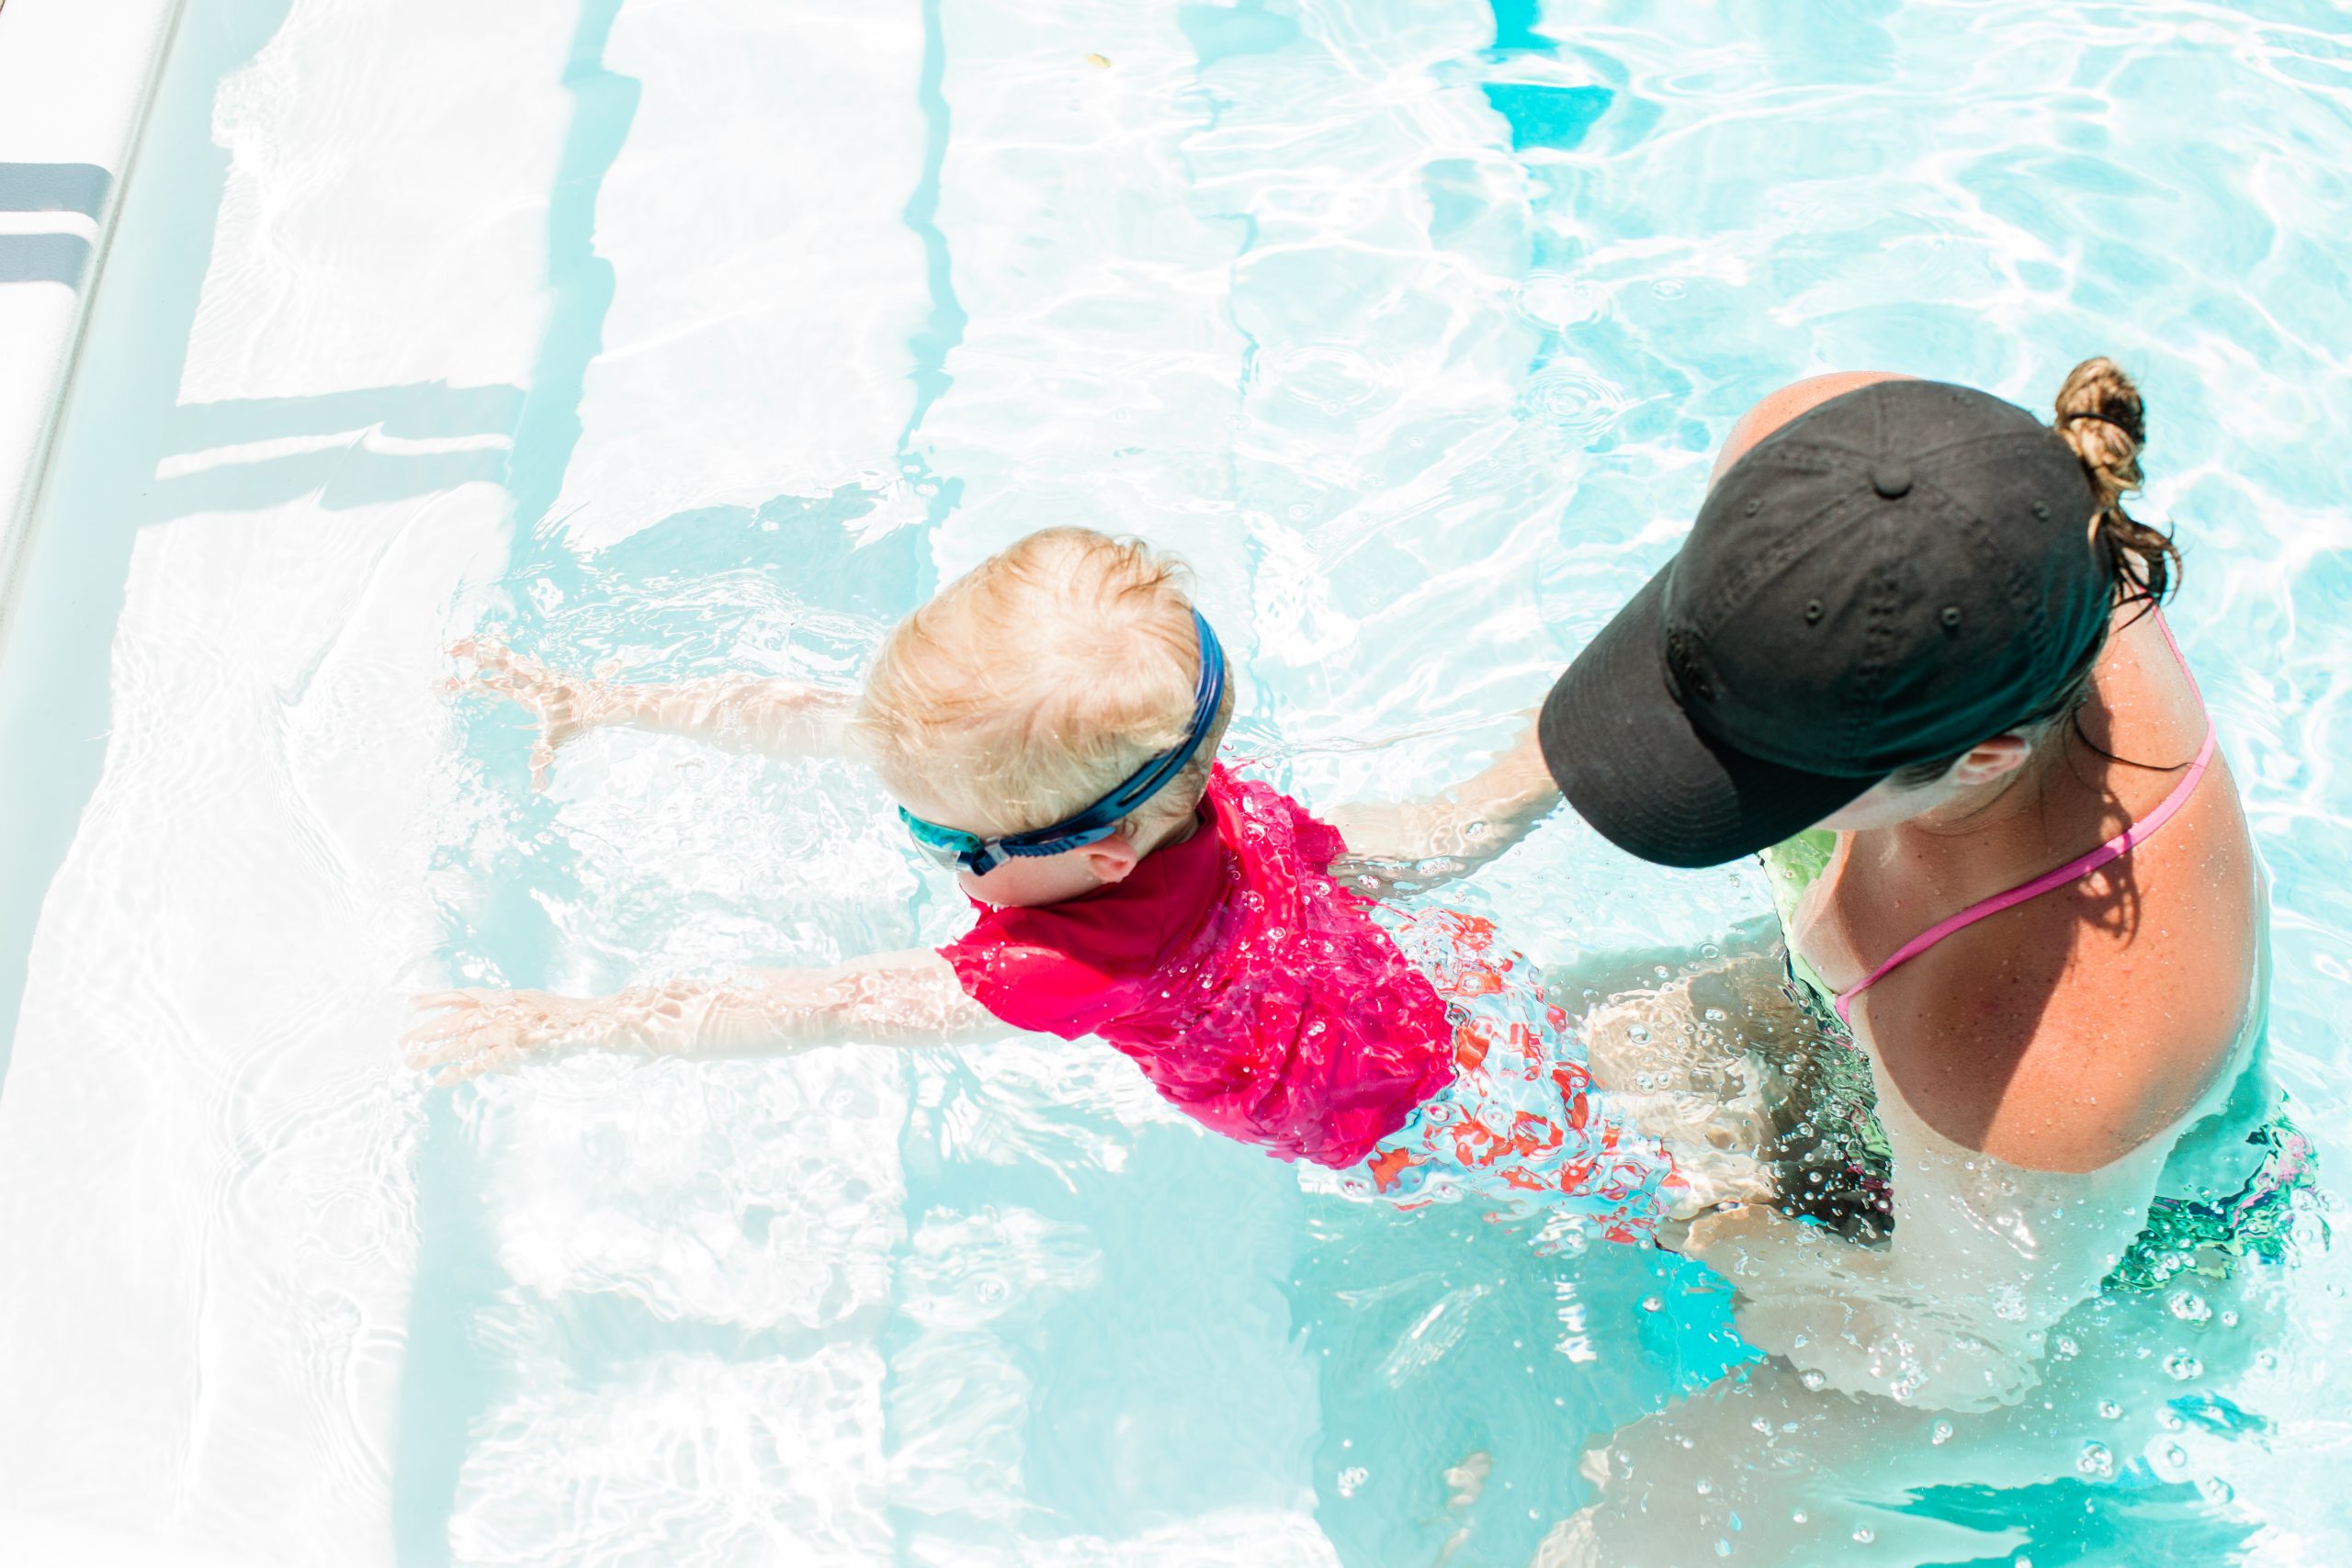
Embark on a transformative aquatic journey with our Learn to Swim Guarantee Program, designed for individuals aged 3 and above, including adults. Our commitment is simple: every participant will become a proficient swimmer, and we guarantee it.
Program Highlights:
- Inclusive Eligibility:
- Open to students aged 3 years and older, with no upper age limit.
- Embracing diversity: Welcoming individuals with language barriers, extreme fear, neurodivergence, and physical differences.
- Comprehensive Learning Approach:
- Students attend classes four times a week (Monday to Thursday) until they master essential swimming skills.
- Each session focuses on skill development, water safety, and building confidence in the aquatic environment.
- Skill Mastery Criteria:
- The goal is to achieve proficiency, defined as the ability to:
- Swim five body lengths unassisted.
- Tread water for 30 seconds.
- Successfully complete a Safety Swim.
- The goal is to achieve proficiency, defined as the ability to:
- Safety Swim Requirement:
- Safety Swim involves:
- Jumping into the pool where the student cannot touch the bottom.
- Emerging for air, turning around, and swimming back to the pool’s edge.
- Exiting the pool without using stairs or a ladder.
- Safety Swim involves:
- Attendance and Makeup Days:
- Attendance is crucial, with students expected to attend classes four times a week.
- One makeup day per week is available on weekends for those who miss a regular class.
- Graduation Criteria:
- Students will continue attending classes until they can demonstrate the Learn to Swim criteria on two separate days.
- Upon achieving this milestone, they officially graduate from the program.
- No Disqualifications:
- Every student is valued, and no one is disqualified from participating in the Learn to Swim Guarantee Program.
- Unwavering Support:
- Our dedicated instructors provide personalized attention, fostering a supportive environment for every learner.
Join us in creating a safe and inclusive space where individuals of all backgrounds and abilities can acquire the life-changing skill of swimming. Dive into confidence with our Learn to Swim Guarantee Program! 🌊✨